Deploying PHP projects with Jenkins on OS X
Continuous deployment, automated unit testing, code analysis & reports, git repo’s, Laravel 4 using Composer. This must be a dream project right? Well, yes, if you have it working correctly. It took me a while to get everything working together but now it works like a charm. I chose to deploy via my macbook, but some people might find it handier to install this setup on a public webserver so they can bind their commits to automated deployments, use it as a team, ….
Anyway, this tutorial will be about deployment for php projects (Laravel 4 in particular) on OS X. I’m assuming you already have a webserver up & running (I’m using MAMP).
1) Install Jenkins
Go to http://jenkins-ci.org/ and install Jenkins for Mac OS X, make sure to use seperate new user. Here’s a great tutorial about this: http://colonelpanic.net/2011/06/jenkins-on-mac-os-x-git-w-ssh-public-key/
Addons:
– Jenkins in your dock: https://github.com/stisti/jenkins-app
– JenkinsMobi (iOS app): http://hudson-mobi.com/
2) Configure Jenkins
I strongly recommend you to follow this tutorial http://jenkins-php.org/ as it has almost everything documented for deploying php apps through Jenkins. My setup is actually based on this documentation.
Download the Jenkins plugins listed on the jenkins-php.org website. I’m using these:
– Jenkins Mailer Plugin
– External Monitor Job Type Plugin
– Ant Plugin
– Static Analysis Utitlities
– Checkstyle Plug-in
– Credentials Plugin
– Jenkins CVS Plug-in
– Duplicate Code Scanner Plug-in
– Jenkins Email Extension Plugin
– FTP publisher plugin
– Jenkins GIT client plugin
– Jenkins GIT plugin
– GitHub API Plugin
– Github plugin
– HTML Publisher plugin
– Jenkins JDepend Plugin
– Plot plugin
– PMD Plug-in
– Publish Over FTP
– xUnit Plugin
3) Configure a new project
Install the jenkins-php’s job template tutorial. When you want to create a new project, simply copy the job template project and modify it as you want.
4) Connect your git repo
Connect your git repo to jenkins. Make sure to use the git protocol ([email protected]:username/repo.git) if you setup key pairs. If you’re using the http:// github url it will keep asking for credentials even though your key pairs are correctly installed.
5) Install Composer
Use this tutorial to install Composer: http://getcomposer.org/doc/01-basic-usage.md#installation
And put it in your bin directory so every user can use this great piece of software:
cp composer.phar /usr/local/bin/composer |
If you’re using composer you will at one point notice it will clone your depency repo’s using git everytime you build your application. And this gave me some Jenkins problems.. Even though the normal ‘composer update’ worked like a charm under my jenkins user, Jenkins itself was giving problems.
[exec] [RuntimeException] [exec] Failed to clone http://github.com/nicolas-grekas/Patchwork-UTF8.git, git was not found, check that it is installed and in your PATH env. [exec] [exec] sh: git: command not found |
more @ http://jenkins.361315.n4.nabble.com/git-not-found-with-jenkins-composer-php-td4660806.html
To fix this, go to http://localhost:8080/configure -> Global configuration -> Environment variables
And add this:
name = PATH
value = /usr/local/git/bin:$PATH
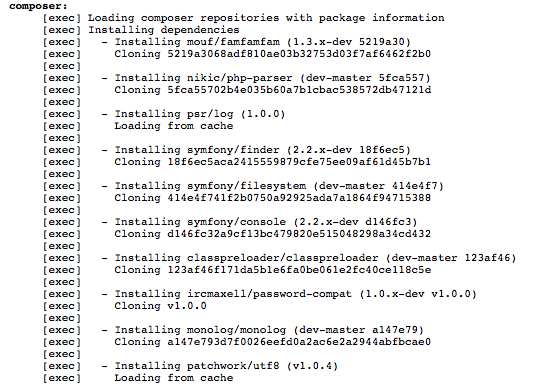
As you can see in the following picture, composer is now fully working in our build process:

6) Install some additional PHP packages
Now of course we want code statistics, automated unit testing, auto generated API documentation, coverage reports, etc so we need to install some extra tools:
– pear (http://pear.php.net/)
Follow this quick guide to install pear: https://gist.github.com/macek/1301527
– phpdox (https://github.com/theseer/phpdox)
sudo pear config-set auto_discover 1 sudo pear install pear.netpirates.net/phpDox-0.4.0 |
– phpunit (http://www.phpunit.de/manual/3.0/en/installation.html)
sudo pear channel-discover pear.phpunit.de sudo pear install phpunit/PHPUnit |
– phploc (https://github.com/sebastianbergmann/phploc)
sudo pear config-set auto_discover 1 sudo pear install pear.phpunit.de/phploc |
– pdepend (http://pdepend.org/documentation/getting-started.html)
sudo pear channel-discover pear.pdepend.org sudo pear install pdepend/PHP_Depend-beta |
– phpcb
sudo pear channel-discover pear.phpqatools.org sudo pear install --alldeps phpqatools/PHP_CodeBrowser |
7) Create your build file
Next we create our build.xml file and we make sure it’s executed correctly by Jenkins (check Project -> Building steps). Put this file in your /jobs/PROJECT directory.
Here’s mine: http://paste.laravel.com/mLw
Note: you can test the build file manually by executing this command. So no need to build via Jenkins and download 24 composer repo’s before it starts executing the ant build file.
ant -f build.xml -v |
You will also need some additional XML config files:
PROJECT/phpcs.xml -> http://paste.laravel.com/mLB
PROJECT/phpdox.xml -> http://paste.laravel.com/mLA
PROJECT/phpmd.xml -> http://paste.laravel.com/mLz
You will also have to alter your Laravel’s phpunit.xml file: http://paste.laravel.com/mLC (the one in your root folder)
8) Build your application
Now try to build your application through Jenkins. Enjoy!
Here’s how it should look like: http://paste.laravel.com/mMn
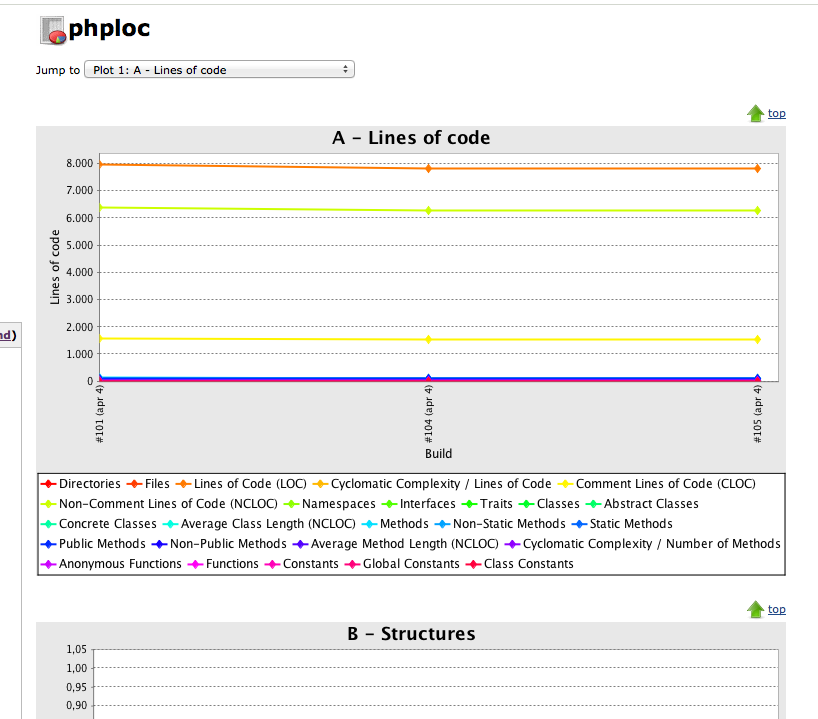
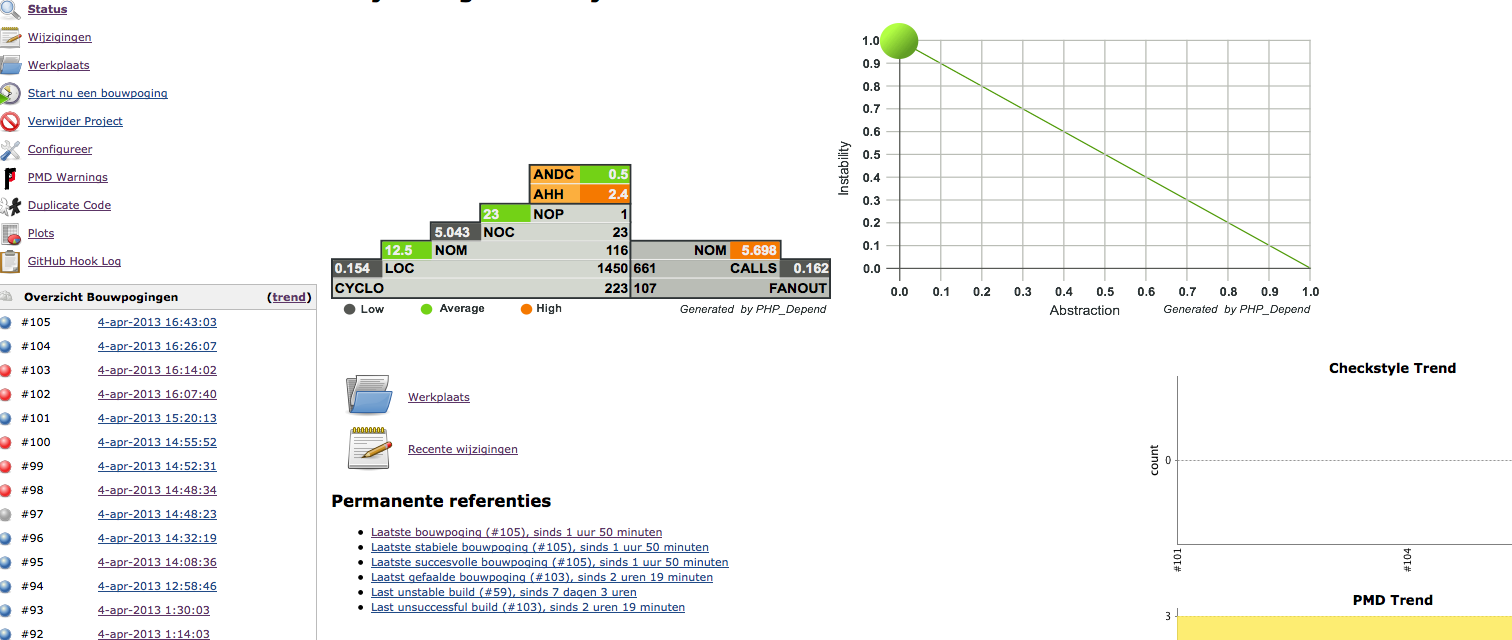
These are just some Jenkins screenshots.. our build file is also generating documentation, code coverage, getc which you can find in PROJECT/workspace/build/ and PROJECT/build
Interesting links:
http://jenkins-php.org/
http://erichogue.ca/2011/05/php/continuous-integration-in-php/


